A Step-by-Step Guide to Migrating Your LMS to Moodle
- By admin
Say goodbye to the old ways of creative thinking and hello to the digital agency revolution! Creativity has never been this fun and exciting. Let’s dive in and explore the world of limitless possibilities through the eyes of digital experts!
A Step-by-Step Guide to Migrating Your LMS to Moodle™
Migrating your Learning Management System (LMS) to Moodle™ can be a transformative move, offering enhanced functionality, flexibility, and user experience. However, successful migration requires careful planning and execution to ensure data integrity, minimal disruption, and a seamless transition. Here’s a step-by-step guide to help you migrate your LMS to Moodle™ effectively.
Step 1: Planning and Assessment
Begin by conducting a thorough assessment of your current LMS. Identify all the data, courses, user information, and content that need to be migrated. Understand the structure, features, and customizations of your existing LMS. Clearly outline the objectives of the migration, determining what you aim to achieve with Moodle™, such as improved functionality, better user experience, or enhanced scalability. List the specific requirements and features you need in Moodle™. Develop a detailed migration plan that includes timelines, resources, responsibilities, and milestones. Identify potential challenges and risks, and plan mitigation strategies. Ensure you have a rollback plan in case of unforeseen issues.
Step 2: Set Up Your Moodle™ Environment
Decide whether you will host Moodle™ on-premises or use a cloud-based solution. Consider factors such as scalability, cost, and maintenance capabilities. Set up the hosting environment with the necessary hardware and software configurations. Download and install the latest version of Moodle™. Follow the installation guide provided by Moodle™ to ensure all components are correctly configured. Verify that the installation is successful and that Moodle™ is operational. Customize Moodle™ settings to align with your organizational needs. This includes setting up user roles and permissions, configuring security settings, and customizing the appearance and themes to match your branding.
Step 3: Data Migration
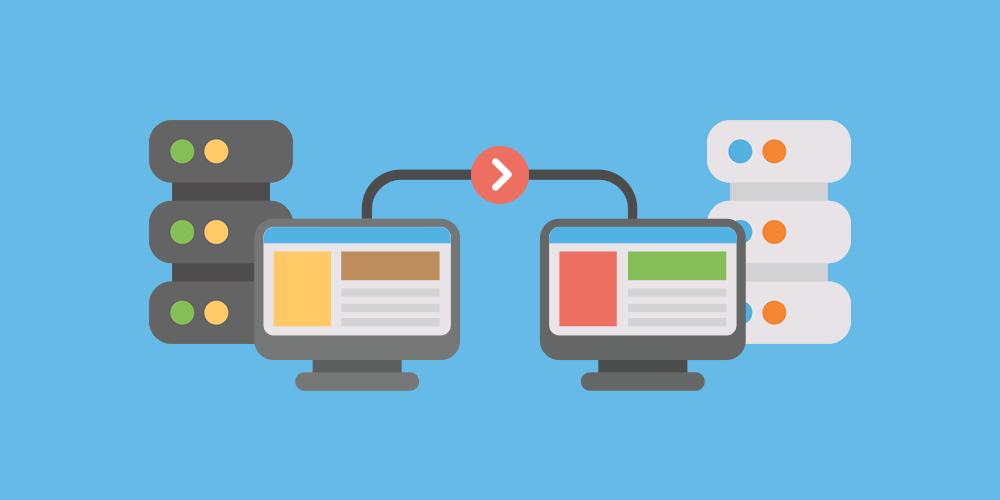
Export all relevant data from your current LMS. This typically includes user data, course content, grades, and activity logs. Use the export tools provided by your current LMS to ensure data is in a format compatible with Moodle™. Organize and clean the exported data, removing any redundant or obsolete information. Convert the data into formats that Moodle™ can import, such as CSV files for user data and IMS Common Cartridge for course content. Use Moodle™’s import tools to transfer the data into your new LMS. Start with user data, followed by course content, and finally grades and activity logs. Verify that the imported data is accurate and correctly mapped.
Step 4: Testing and Validation
Conduct thorough testing to ensure that all data has been migrated correctly. Check for any discrepancies or missing information. Test all functionalities, including course delivery, user access, and administrative features. Involve a group of end-users in the testing process and gather feedback on the usability and functionality of the new LMS. Address any issues or concerns raised during user acceptance testing (UAT). Evaluate the performance of your Moodle™ LMS under different scenarios. Test the system’s response times, load handling, and scalability to ensure it can support your user base effectively.
Step 5: Training and Go-Live
Develop training materials and conduct training sessions for administrators, instructors, and learners. Ensure that all users are familiar with the new system and can navigate it comfortably. Plan the go-live date and ensure that all stakeholders are informed. Ensure that all technical support and resources are available to handle any issues that may arise during the transition. Transition to the new Moodle™ LMS. Monitor the system closely during the initial days of the launch to address any immediate issues. Provide ongoing support to users to ensure a smooth adoption process.
Step 6: Post-Migration Activities
Continuously monitor the performance and usage of Moodle™. Provide ongoing support and troubleshooting to address any post-migration issues promptly. Gather feedback from users and use it to make continuous improvements to the system. Regularly update Moodle™ to leverage new features and security enhancements. Periodically review the system’s performance and usage. Optimize configurations and processes to enhance the overall efficiency and effectiveness of your Moodle™ LMS.
Migrating your LMS to Moodle™ involves careful planning, detailed execution, and continuous support. By following this step-by-step guide, you can ensure a smooth transition, preserving data integrity and providing an enhanced learning experience for your users. With its robust features and flexibility, Moodle™ can significantly improve your educational delivery and administrative efficiency.


